MTB2 Quilt Project:
Fractions & Measurment
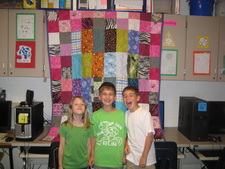
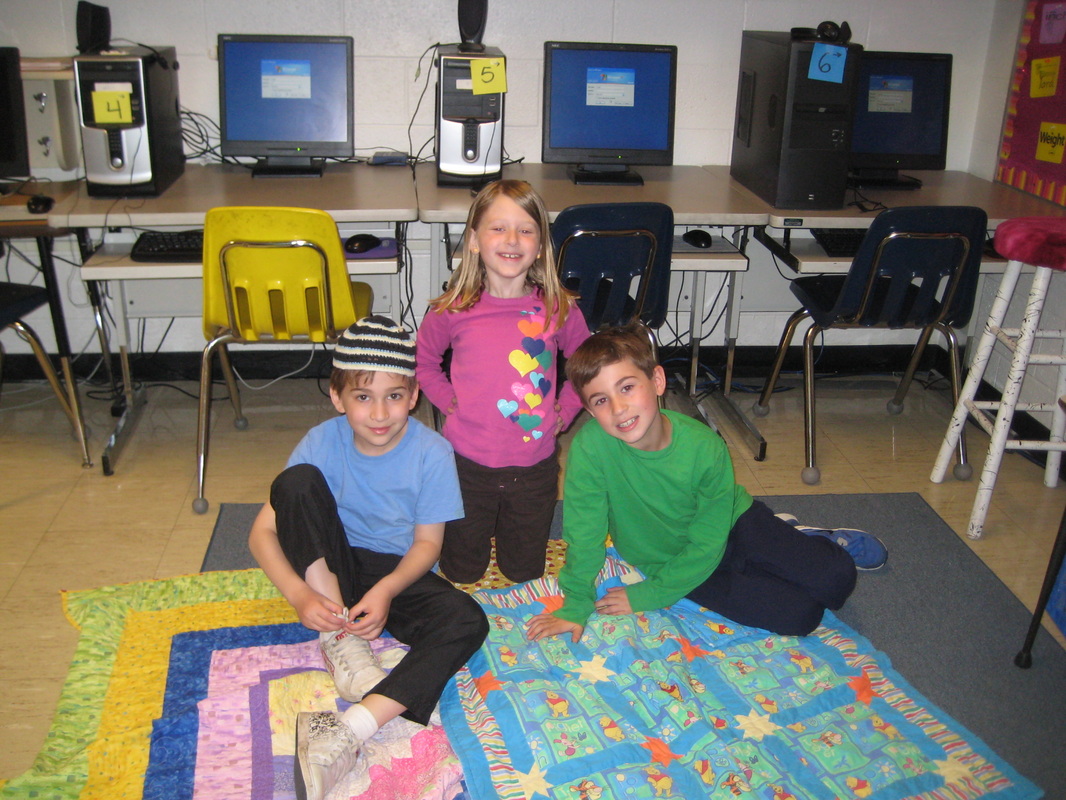
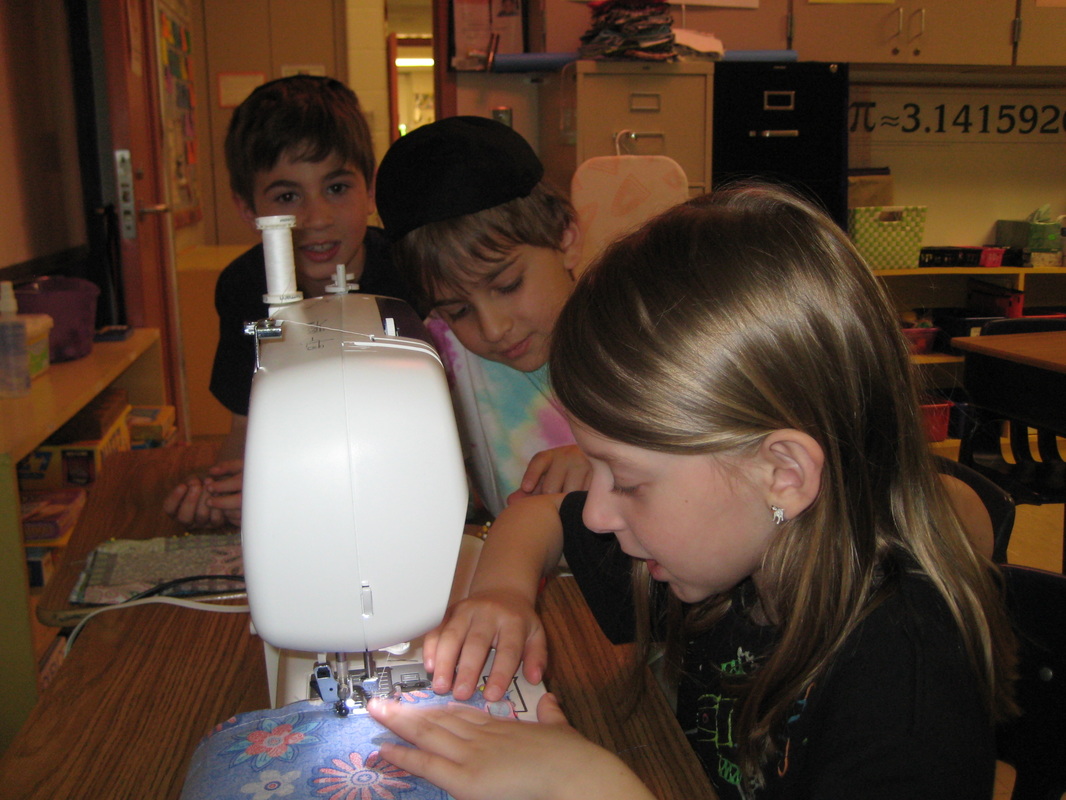
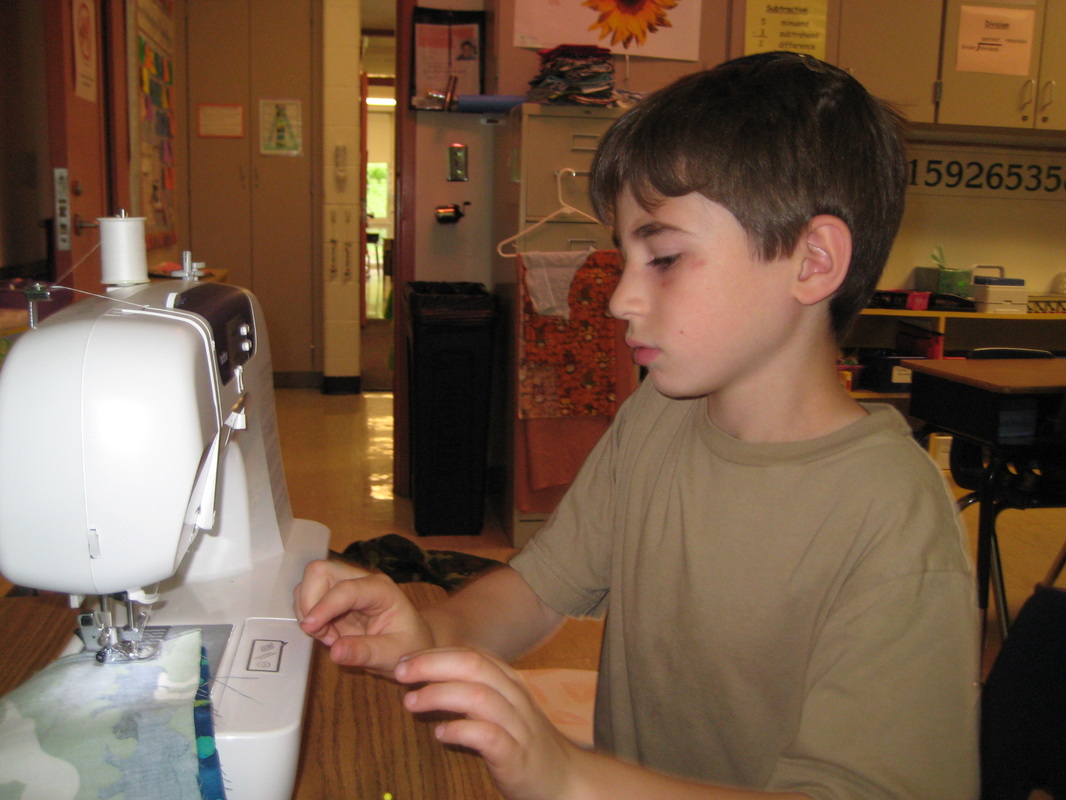
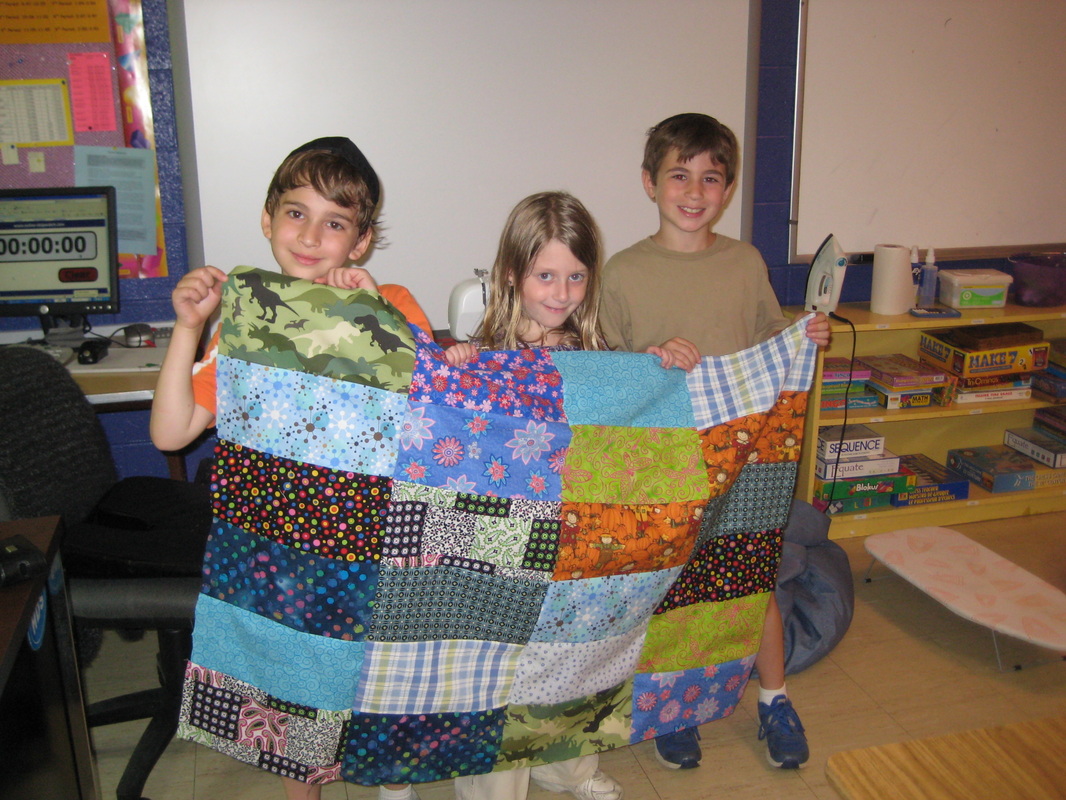
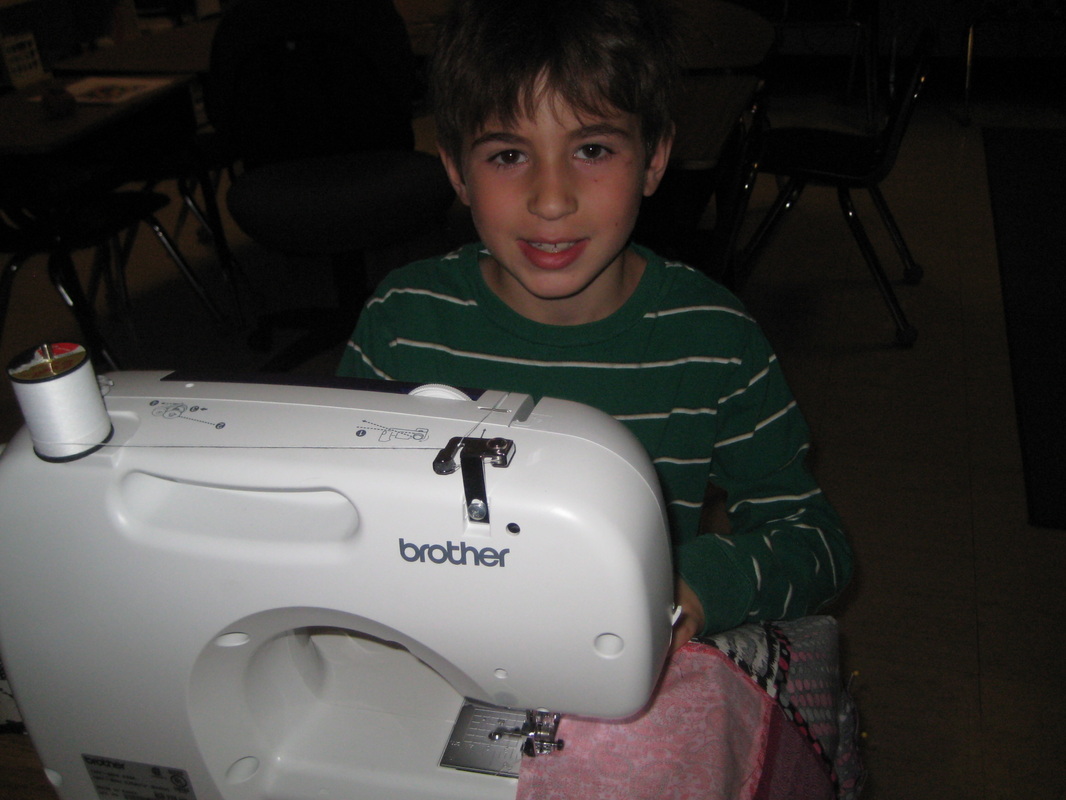
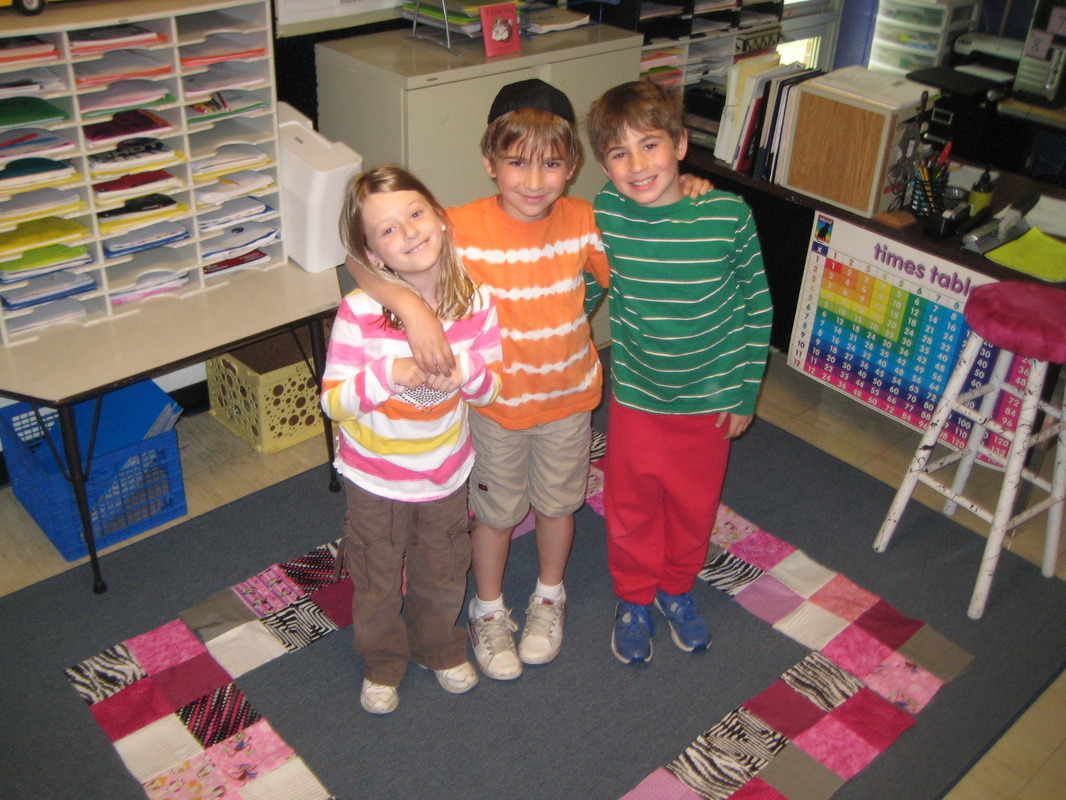
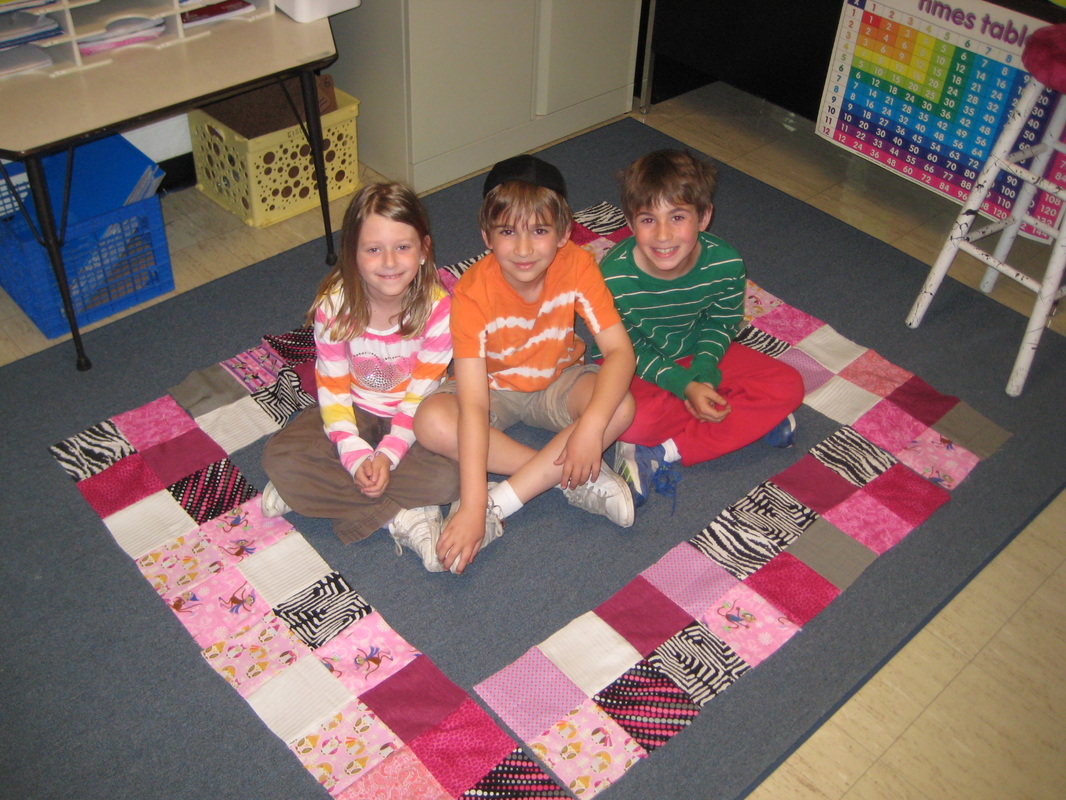
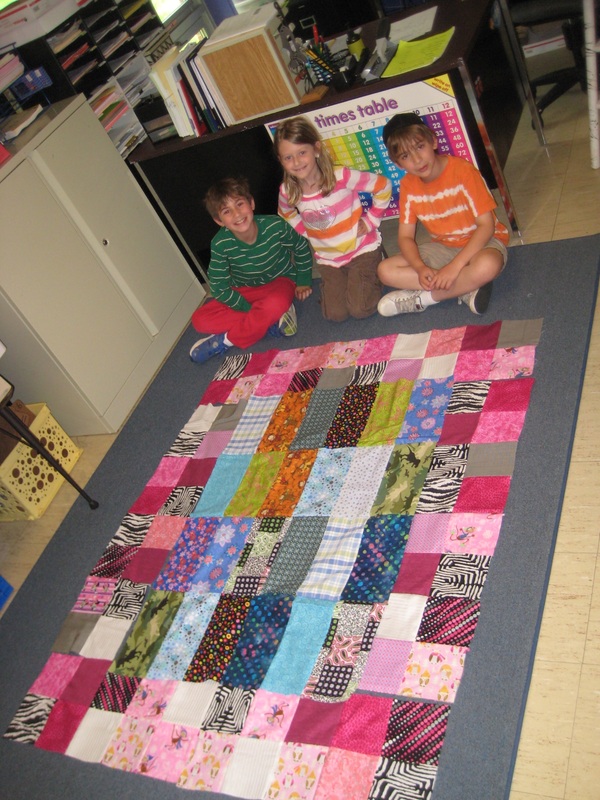
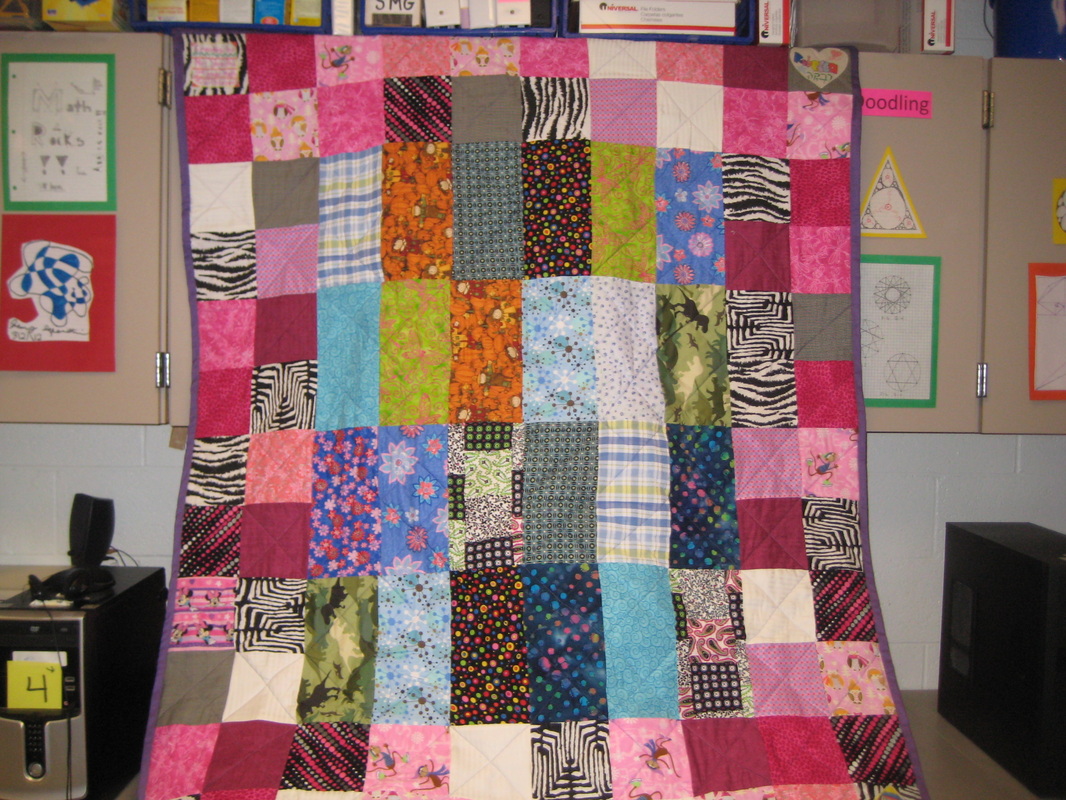
In the spring of 2012, the 2nd Grade Math Trailblazer class participated in an authentic learning experience. The students worked together under the guidance of Mrs. Straith to create a quilt to donate to a charity.
During this unit of study students:
--Learned about the math used to sew and create a quilt, primarily focusing on fraction and measurement concepts,
--Collaborated with their peers to create a product from start to finish,
--Used their curiosity, creativity, and critical thinking skills to design and create a quilt,
--Used their prior knowledge to apply to a real-life situation,
--Made connections to why quilts are an important part of our history,
--Communicated to the greater community about the project they were working on,
--Read stories about quilts,
--Used textiles and other materials,
--Learned how use and respect tools of the trade such as a needle and thread, measuring tools, a sewing machine, scissors, and the like
--Utilized technology to research quilting and related topics, and
--Helped create a digital record of their experiences.
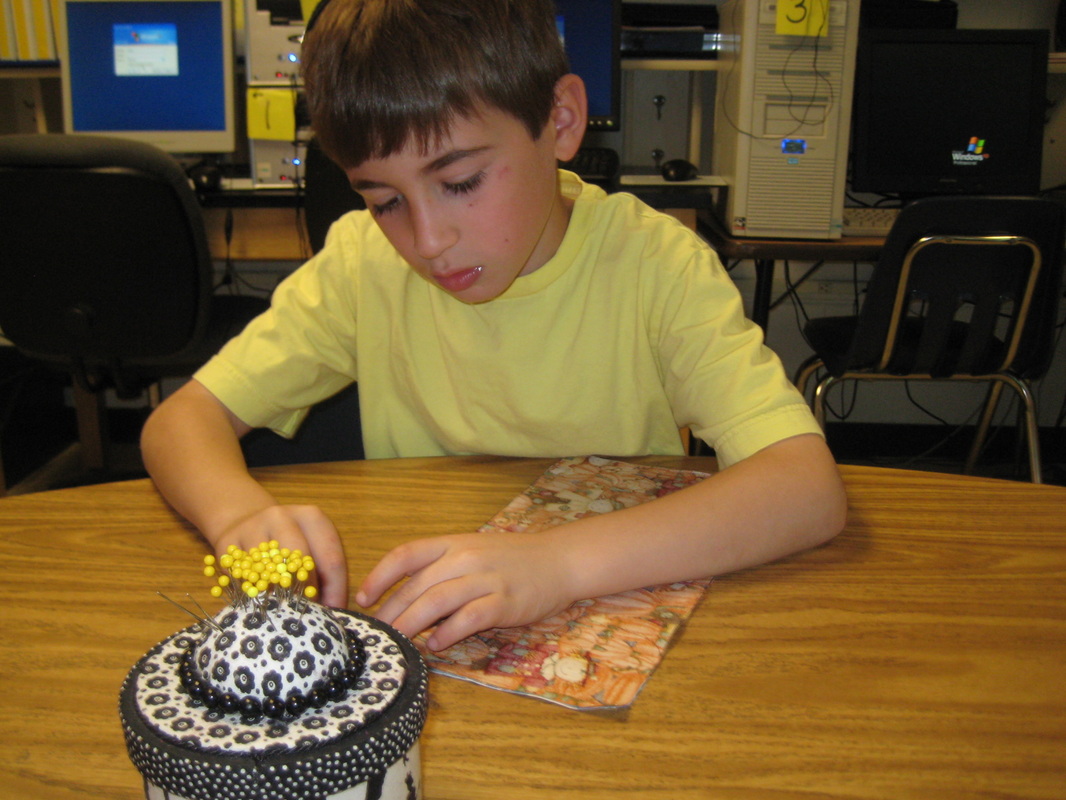
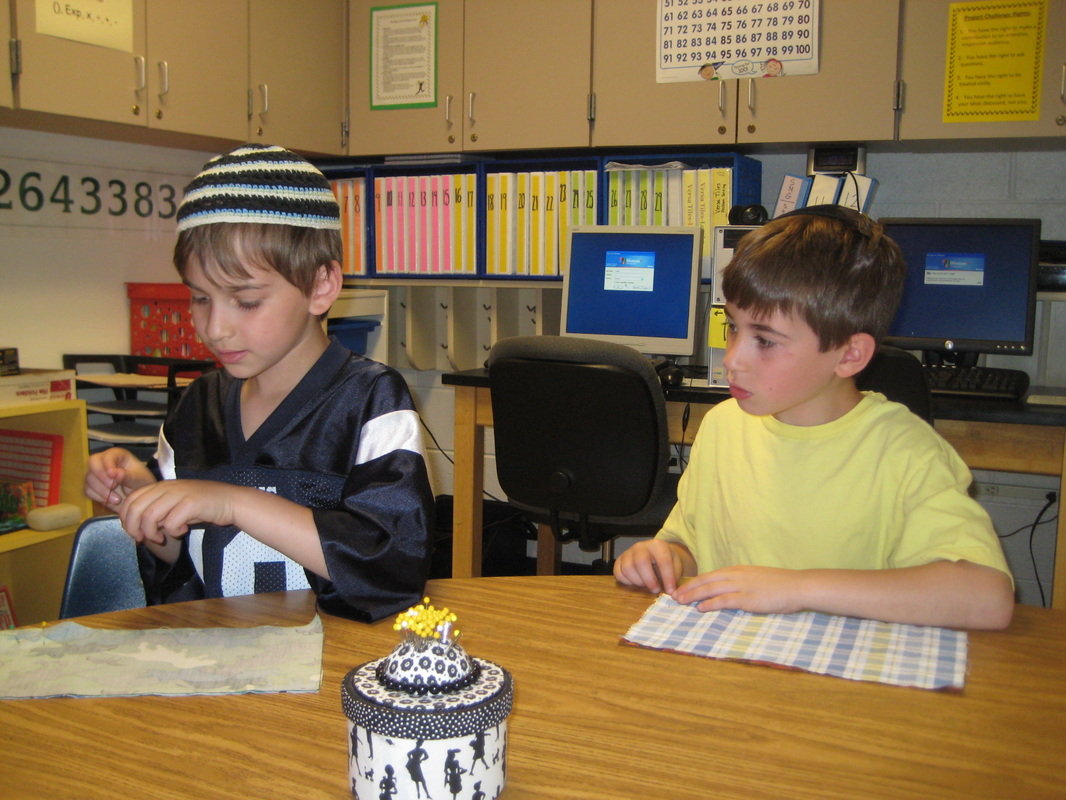
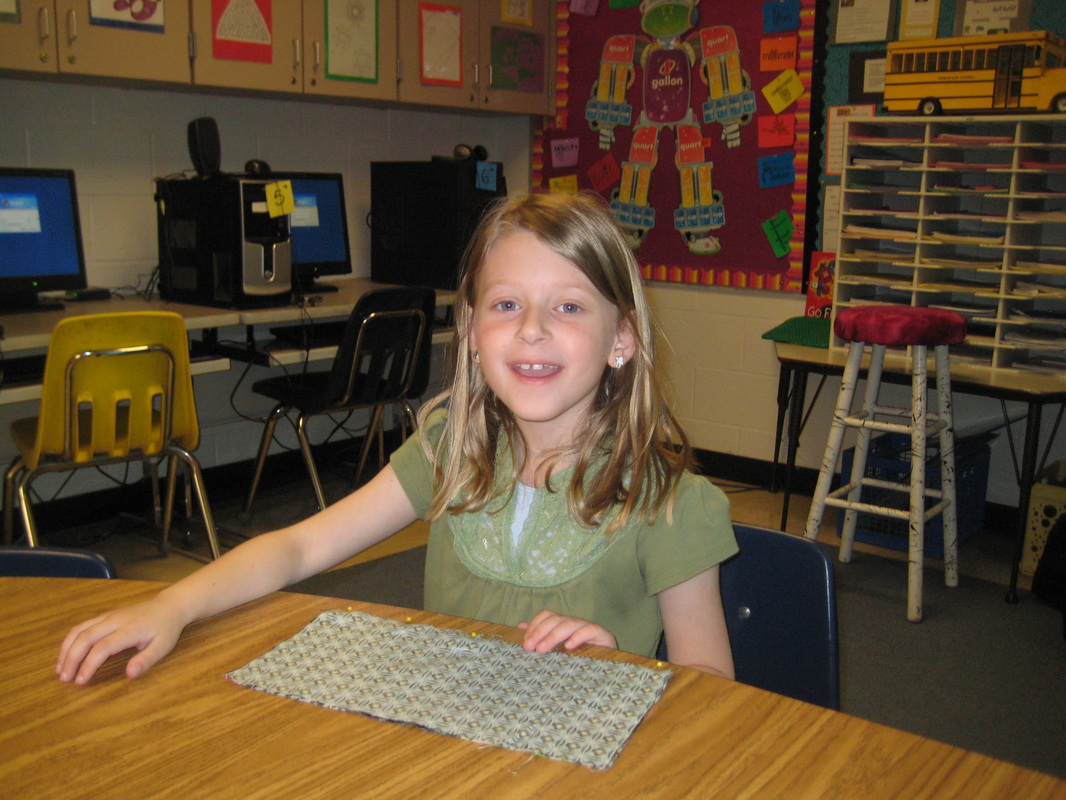
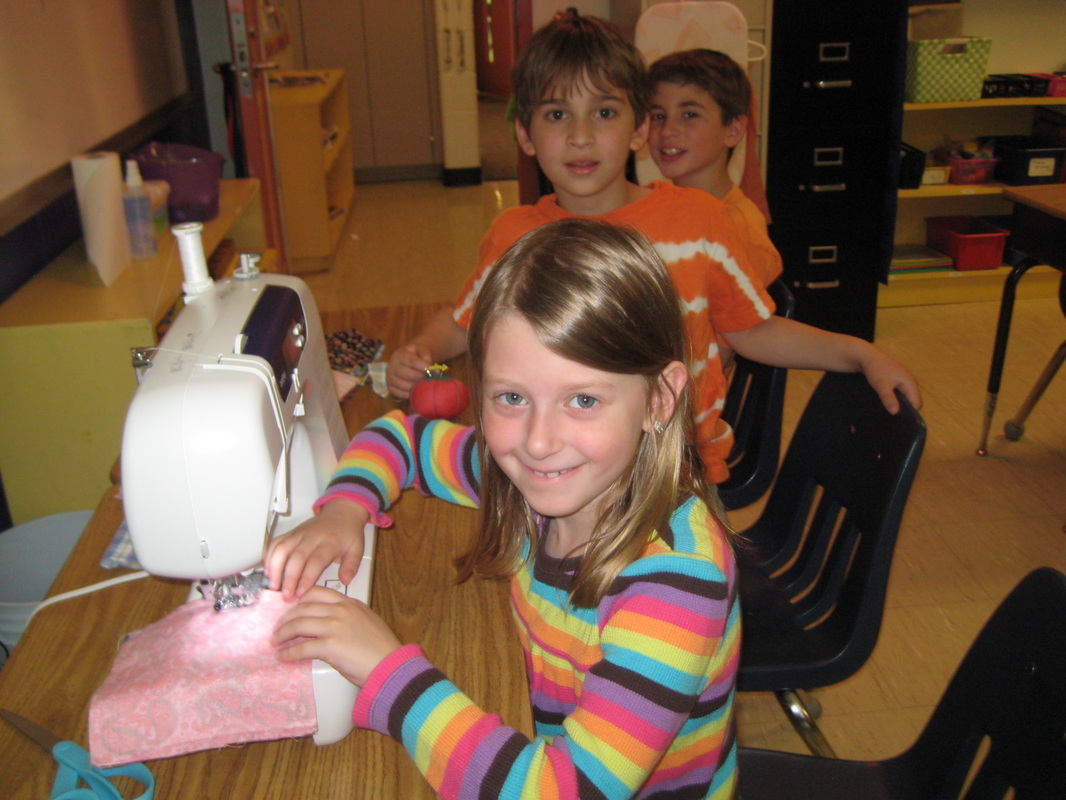
Scroll to the bottom for a picture gallery of their experiences!

The Process
Day 1:
1. Intro to the Quilt Project: Use the quilts hanging on the wall outside of the library
2. Read story: The Keeping Quilt by Patricia Polacco
3. Start discussing ideas students have and experiences with sewing
4. Invite students to bring in a family quilt or heirloom
5. Discuss the idea of history/story that a quilt can tell
Day 2:
1. Brainstorm Map
2. 4 Big Ideas: Process, Size & Shape, Materials, Who to Donate to
3. Start story: The Patchwork Quilt by Valerie Flournoy
4. Continue talking about students' ideas about the project
Day 3:
1. Determine size & shape of the entire quilt: 5' x 6' rectangle
2. Find the Perimeter and Area of the entire quilt
3. Determine shape of interior pieces: squares and rectangles (other shapes have been discovered to be too difficult to work with or won’t tessellate)
4. Considerations: time, ease, appearance
5. Calculate amount of time available to work on quilt (40 days x 30 mins = 1,200 mins / 60 = 20 hours total)
6. Finish story: The Patchwork Quilt by Valerie Flournoy
Day 4:
1. Determine shape of interior pieces: squares and rectangles (other shapes have been discovered to be too difficult to work with or won’t tessellate)
2. Video a discussion of the decision-making process for the interior shapes
3. Determine the size of the interior pieces: rectangles ½’ x 1’ and squares ½’ x ½’
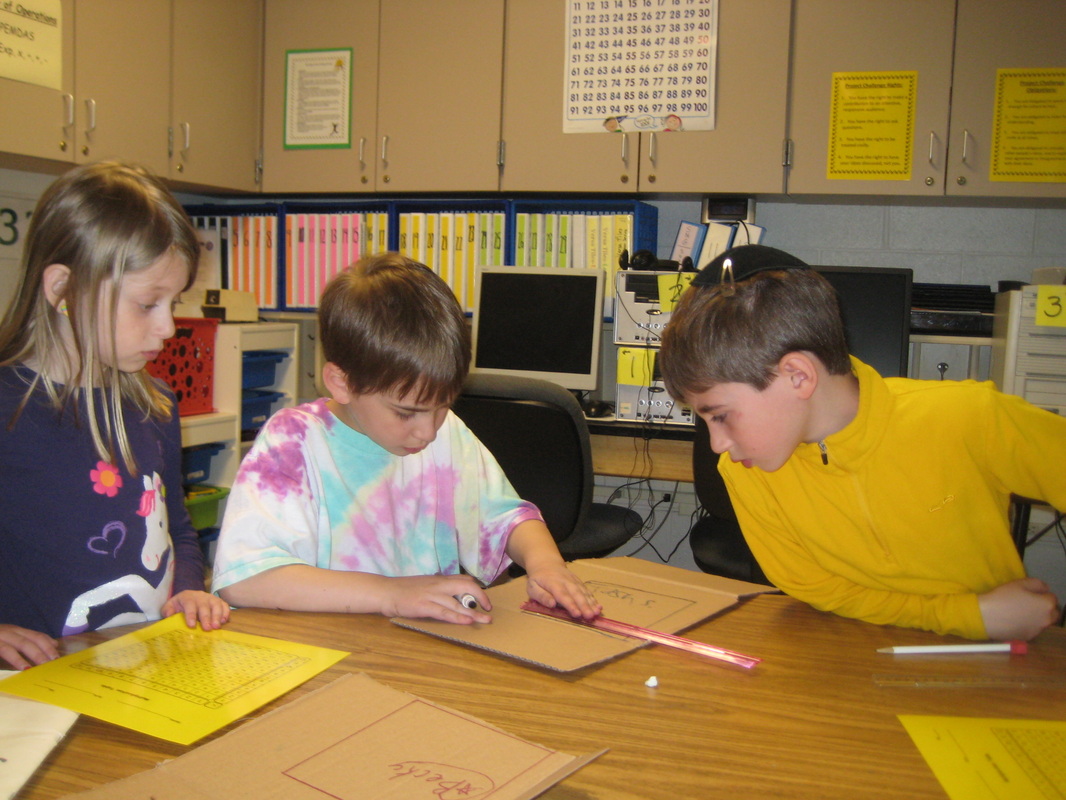
4. Start creating a scale model/pattern for the quilt
Day 5
1. Finish scale model/pattern
2. Calculate how many interior pieces are needed for each shape: 24 rectangles & 72 squares
3. Find the Perimeter and Area of interior pieces
4. Find the scale of the pattern to the actual size of the quilt
Day 6
1. Analyze examples of quilts and recognize different traits including size, shapes, patterns, materials, etc.
2. Create list of materials needed (rotary cutters)
3. Figure out where and how to get the items that are needed
4. Identify symmetry in quilt and talk about how to make a symmetrical quilt: mirror image
Materials & Tools
a) Rotary cutter or scissors-Mrs. S & Becky(?)
b) Fabric-everyone
· not stretchy
· cotton
· lightweight
· button down shirts
· prints or solids
c) Sewing machine-Mrs. S.
d) Fabric markers-Josh (maybe)
e) Rulers & yard sticks-classroom
f) Needles-Mrs. S
g) Thread-Mrs. S
h) Patterns/templates-make in the classroom
i) Batting-Mrs S. buy
j) Yarn-Mrs S.
Day 7
1. Analyze different materials for qualities needed to make a quilt
2. Fraction concepts: Identify the fraction of the quilt that will be squares vs. rectangles (parts of a whole)
3. Fraction concepts: Simplifying and complicating fractions
Day 8:
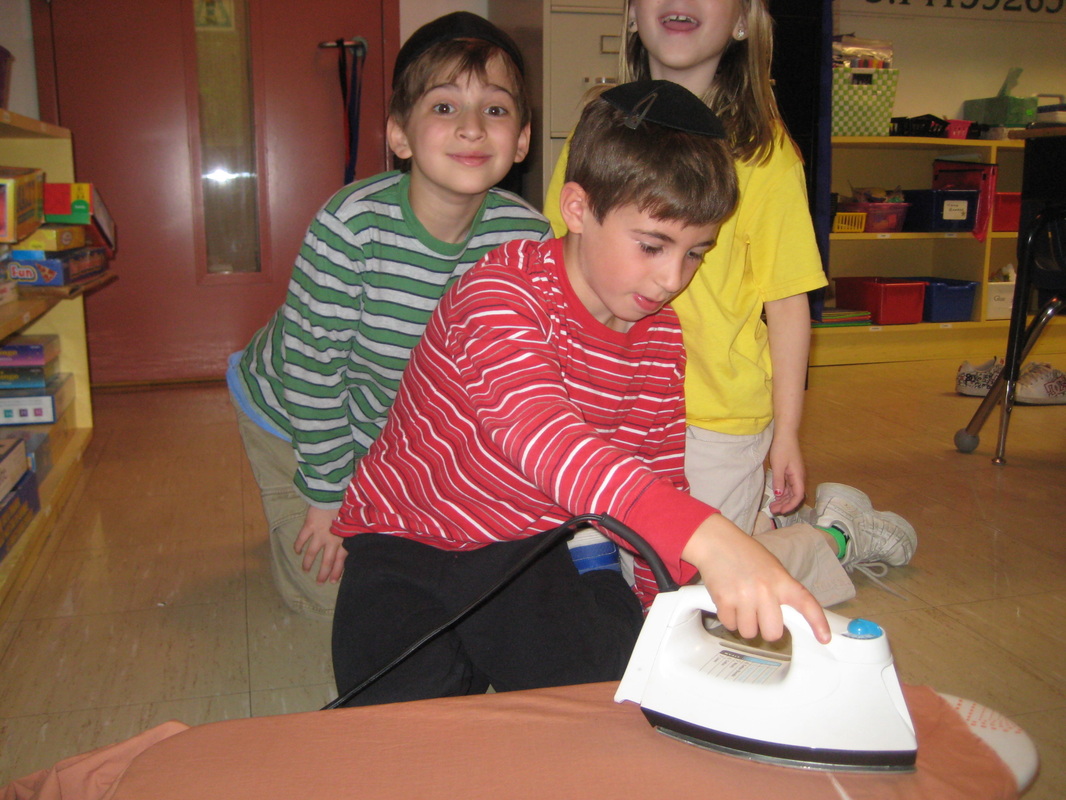
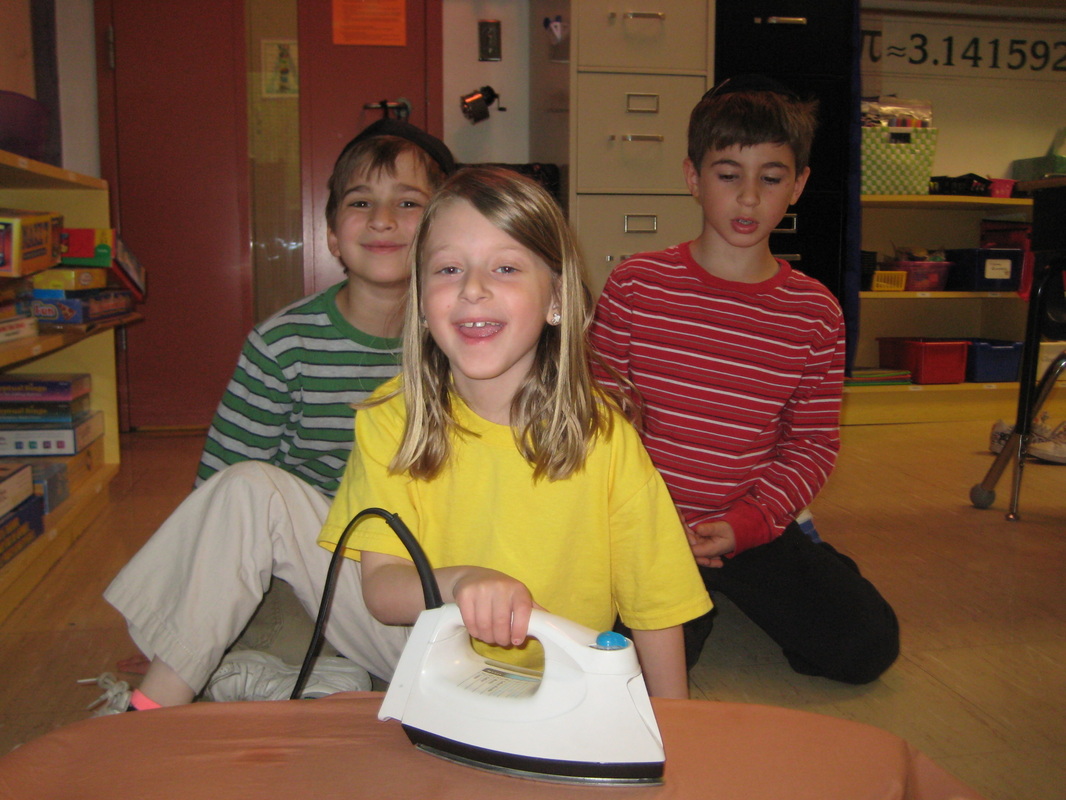
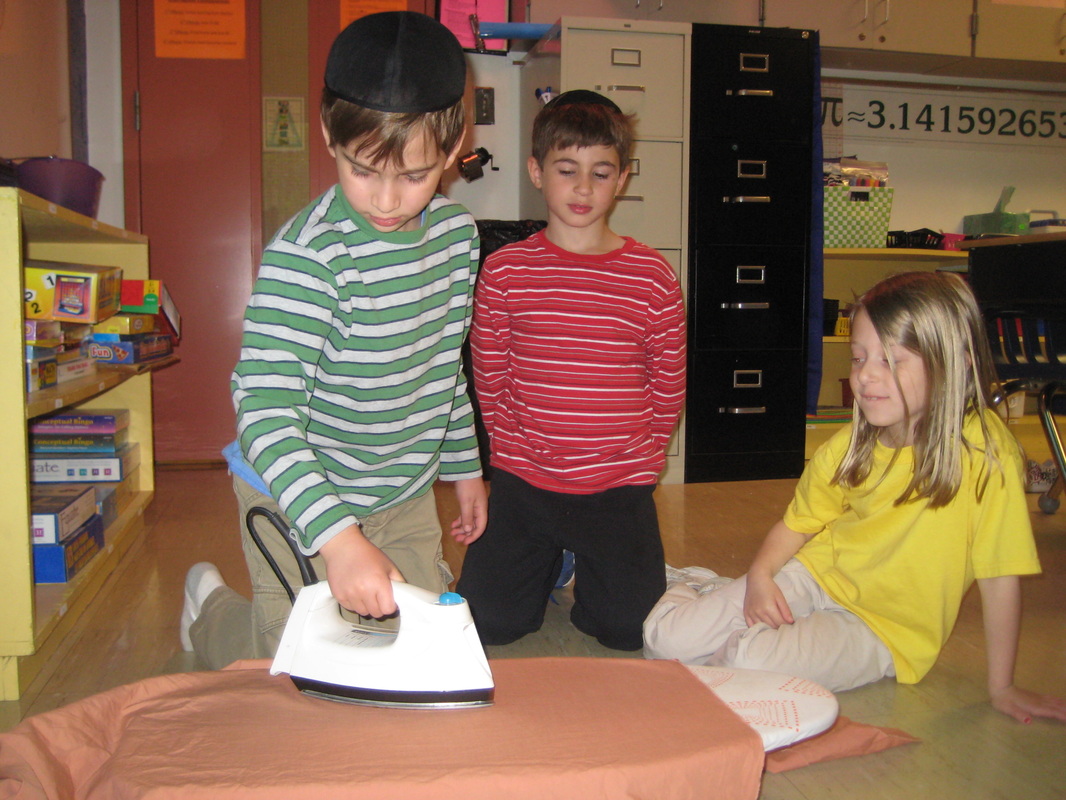
1. Iron the fabric pieces that are chosen to be used for quilt pieces
2. Talk about how to store fabric
3. Make corrections to fraction practice packet
Day 9:
1. Iron the fabric pieces that are chosen to be used for quilt pieces
2. Determine which fabrics will be used for square pieces
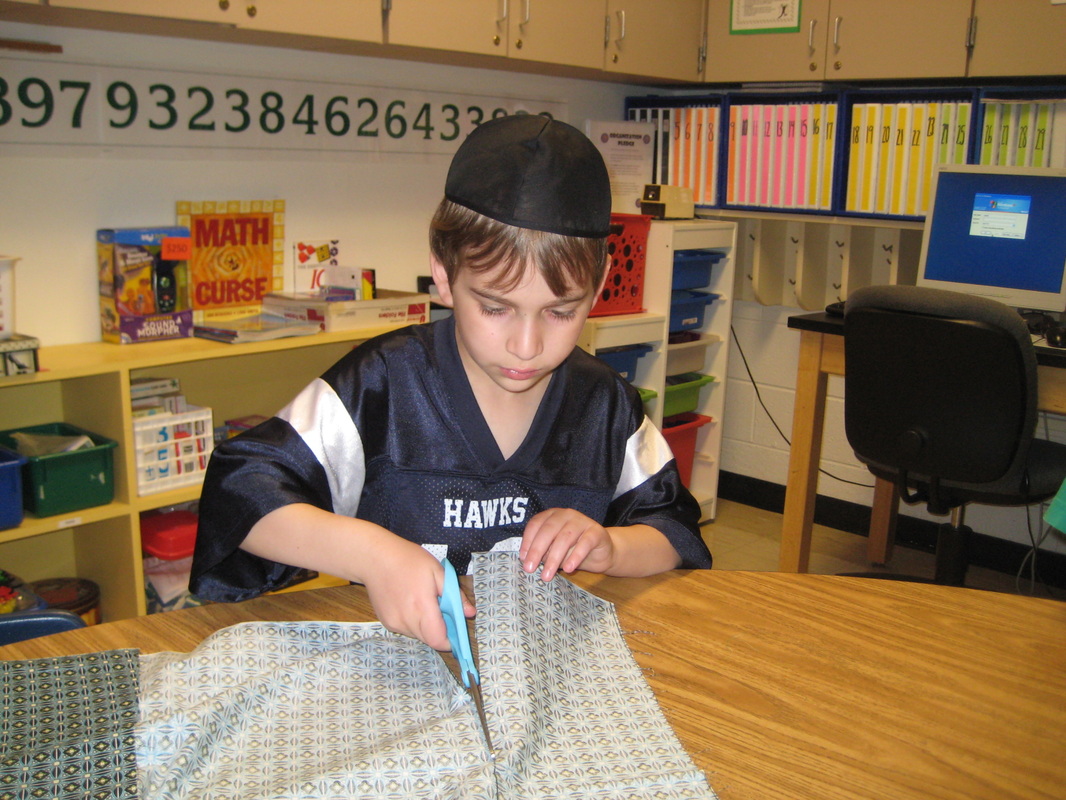
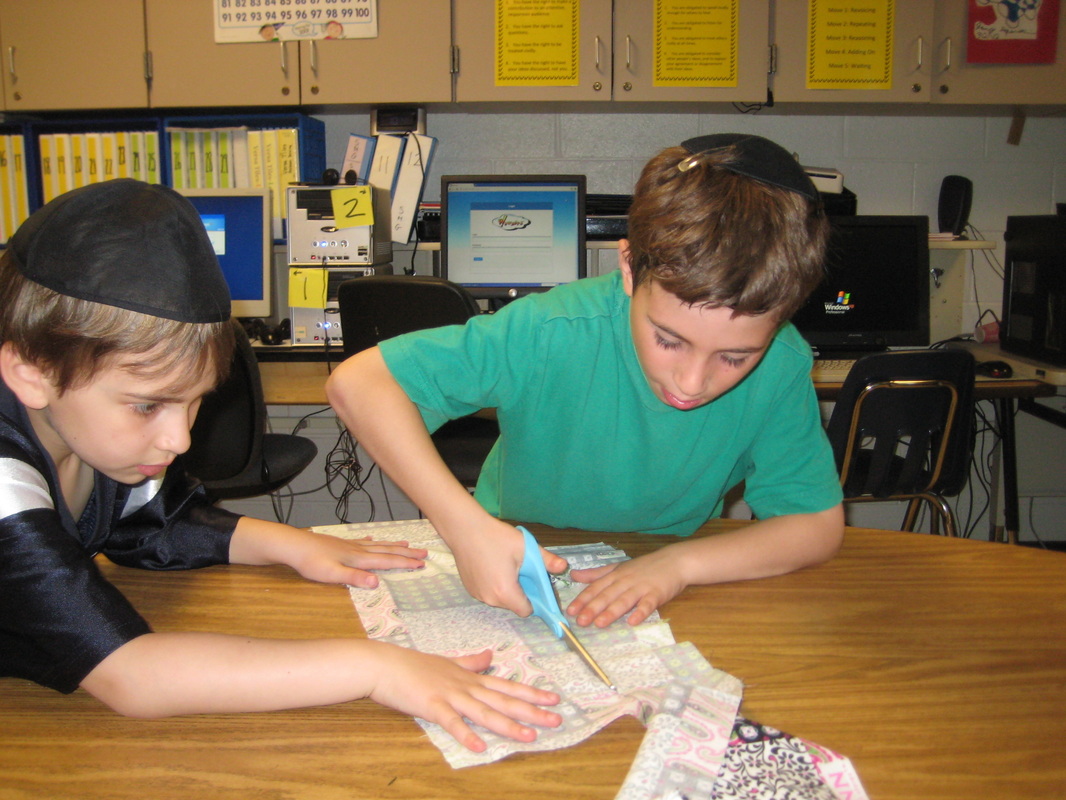
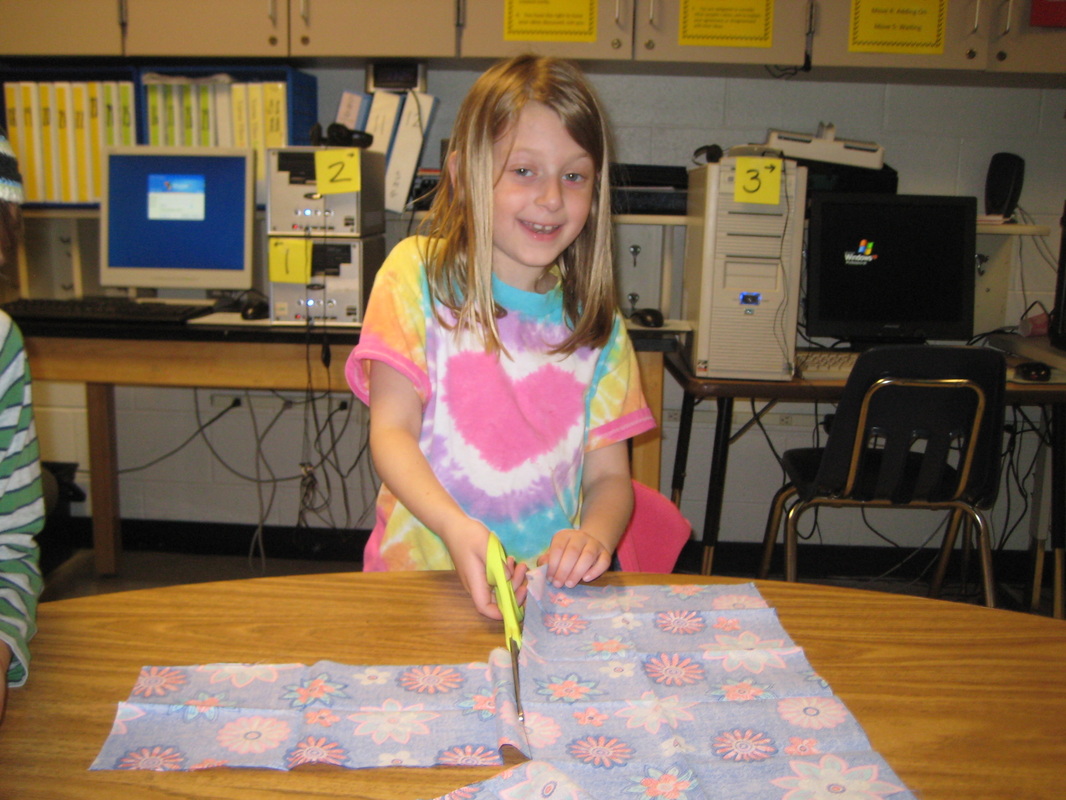
3. Measure and begin cutting rectangular pieces (24) using rotary cutter
Days 10-12:
1. Determine which fabrics will be used for rectangular pieces
2. Cut rectangular (24) and square (72) pieces and ironing as needed
Day 13:
1. Iron all pieces
2. Begin pinning rectangular pieces together-teach responsible use of pins
3. Use geometry vocabulary when giving instructions or describing actions-review line, ray, line segment, parallel lines, perpendicular lines, quadrilateral, square, rectangle, parallelogram, rhombus, right angle, acute angle, obtuse angle, etc.
Day 14:
1. Iron all pieces
2. Begin pinning rectangular pieces together-teach responsible use of pins
3. Use geometry vocabulary when giving instructions or describing actions-review line, ray, line segment, parallel lines, perpendicular lines, quadrilateral, square, rectangle, parallelogram, rhombus, right angle, acute angle, obtuse angle, etc.
Day 15:
1. Finish pinning first batch of rectangular and square pieces together
Days 16-20:
1. Sew first batch of pinned pieces
2. Iron seams open
Days 21-25:
1. Continue sewing pieces together
2. Iron all seams open
Days 26-29:
1. Once the squares have been sewn together in 2 x 2s, lay them out to create plan for the pattern of the quilt making sure that the pieces are facing in the correct direction and that no two patterns are touching each other (diagonally is okay)
2. Sew together top rows, bottom rows, and left and right sides of square pieces
Day 30-32:
1. Lay out squares and rectangles
2. Pin together rectangular section and square sections and sew
3. Press seams open
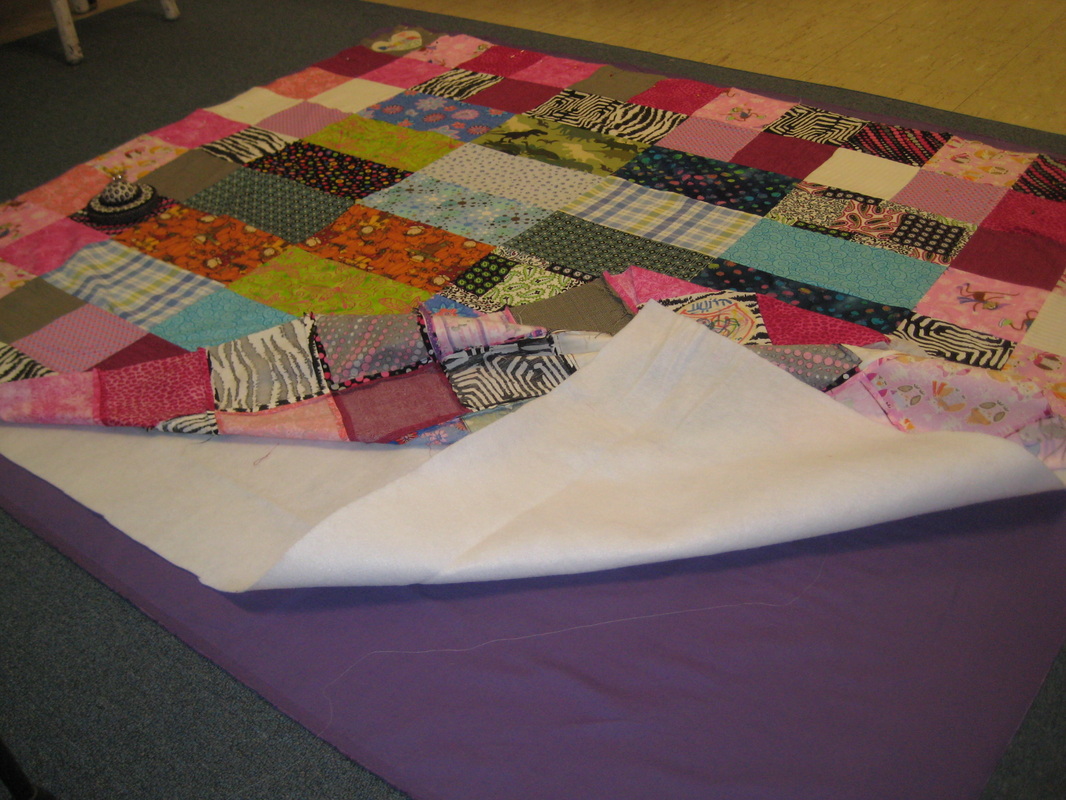
4. This will finish the top layer of the blanket, preparing it to be layered with the batting and the backing
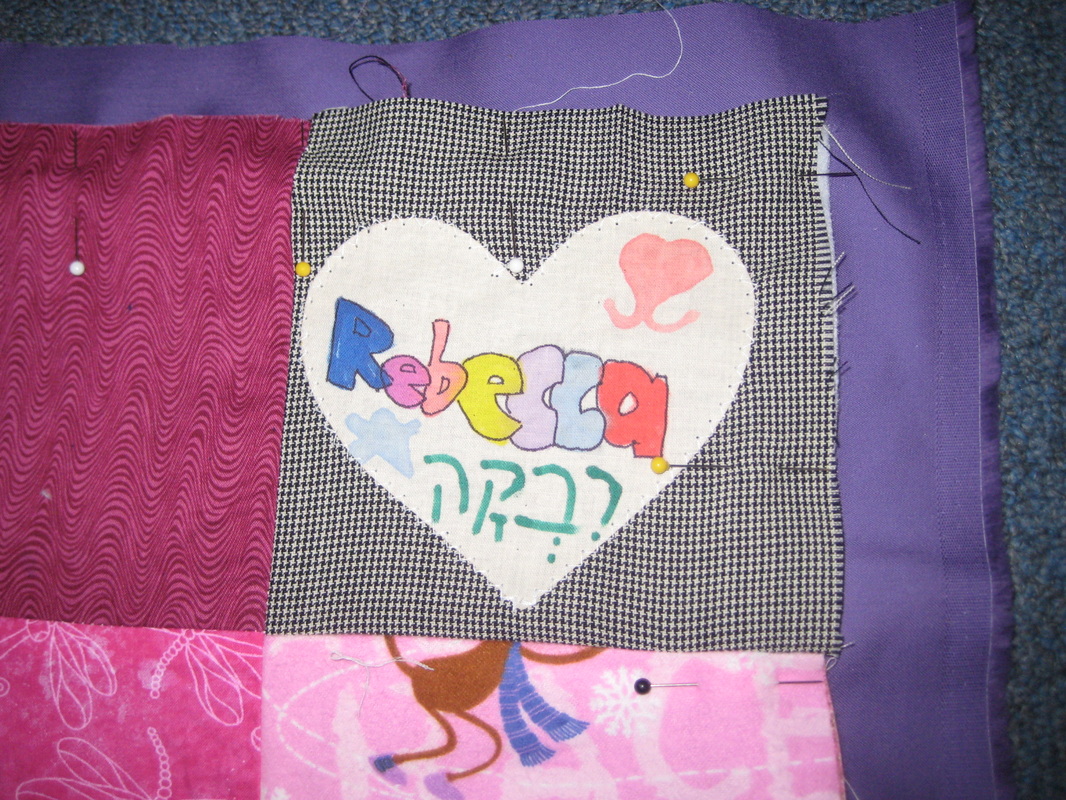
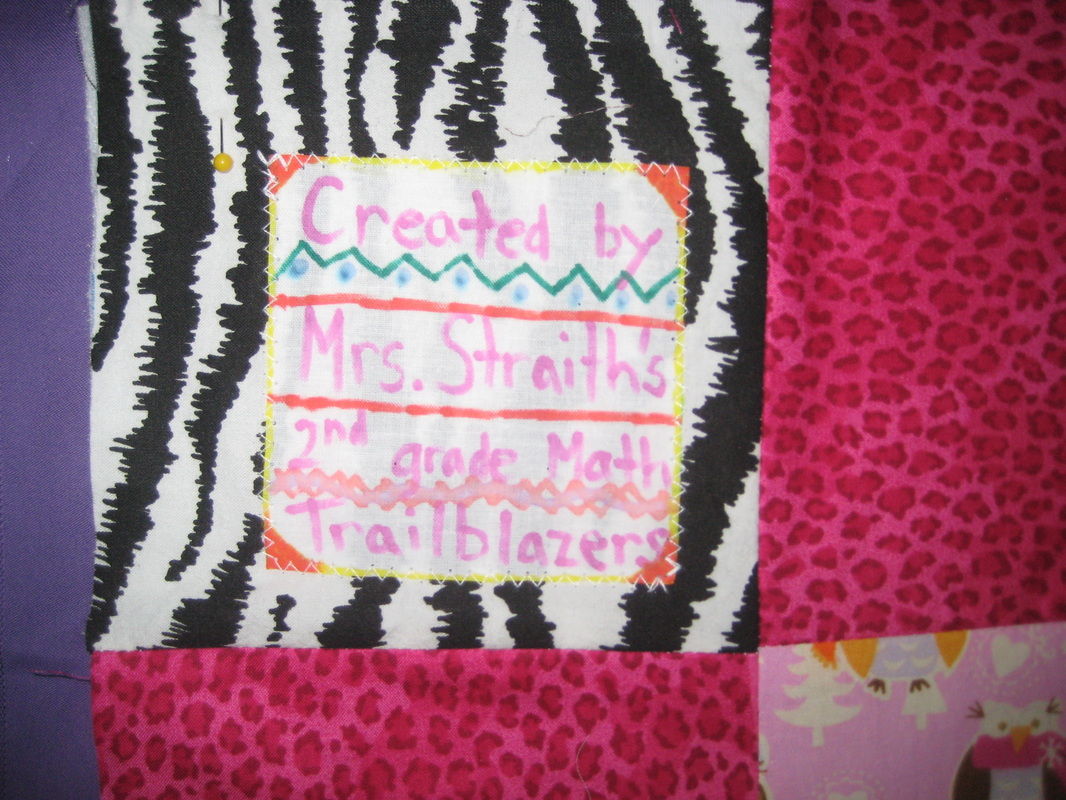
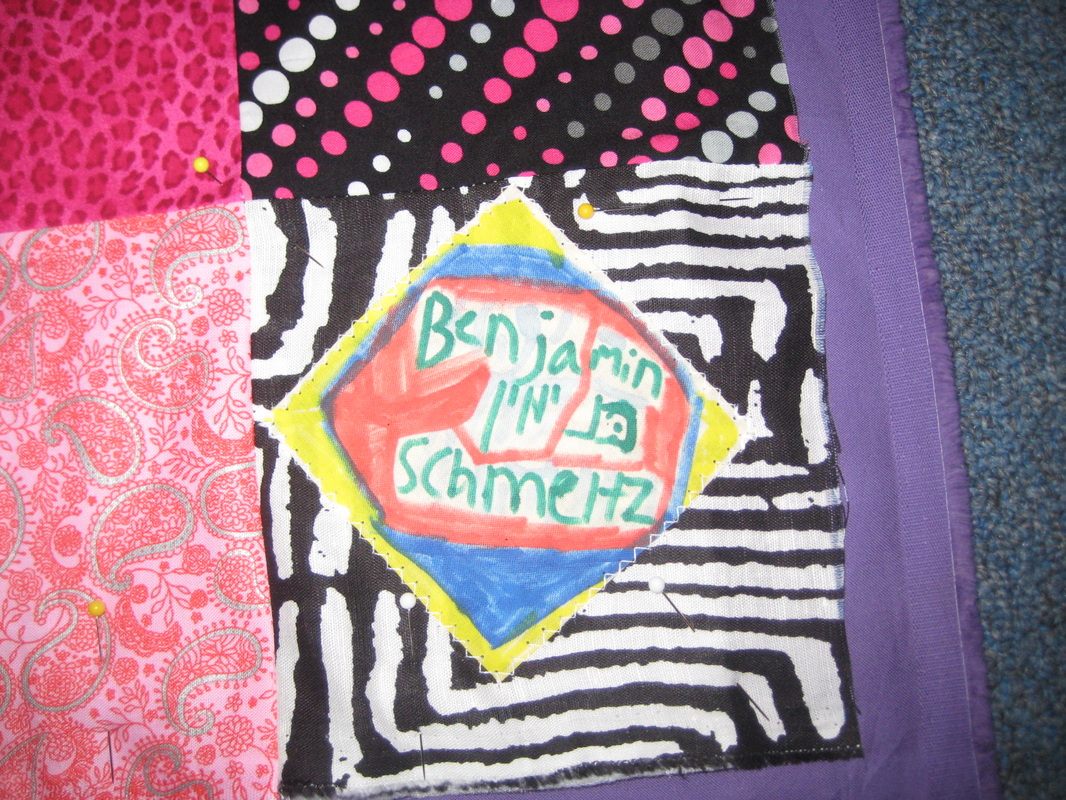
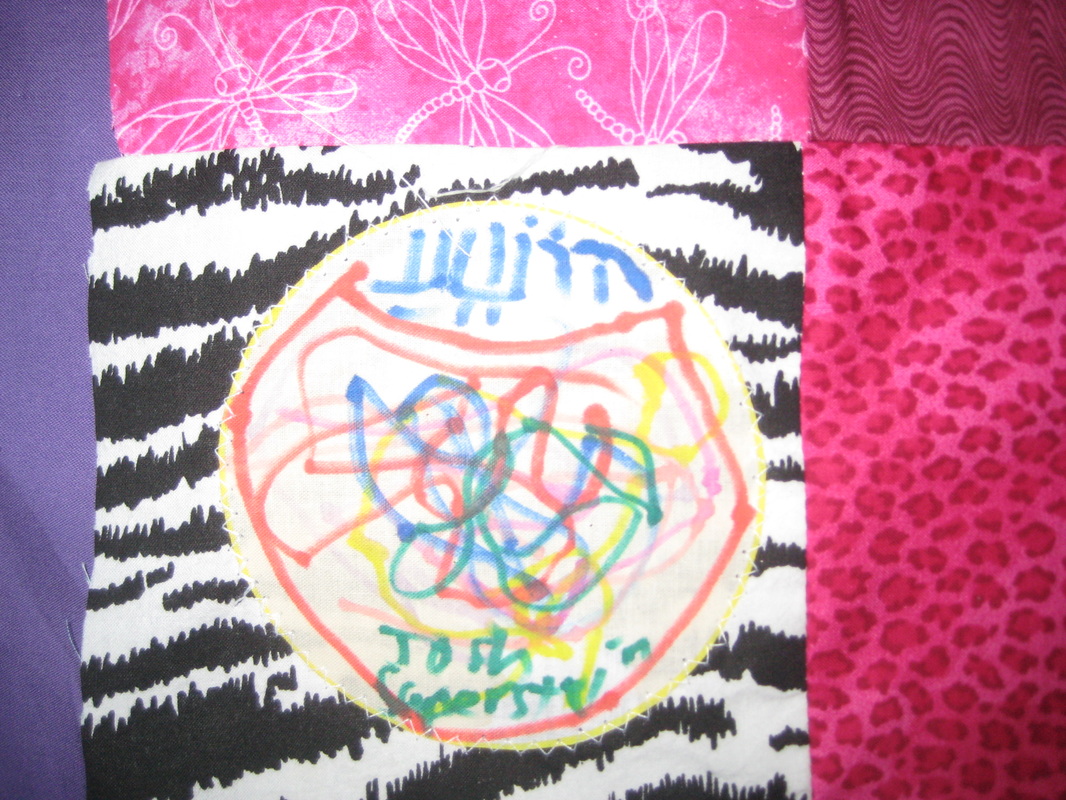
Day 33:
1. Create personalized squares to show who the quilt was created by (use white cotton fabric and fabric markers)
2. Sew onto corner squares using a zigzag stitch
Day 34:
1. Cut the batting and backing
Day 35:
1. Cut the binding
Day 36-37:
1. Sew the layers together
2. Quilt the center first by sewing diagonally through the squares
3. Sew the binding
Fall 2012:
1. Dedication ceremony
2. Display the Quilt for Hillel Community to enjoy
2. Donation to a children's hospital
1. Intro to the Quilt Project: Use the quilts hanging on the wall outside of the library
2. Read story: The Keeping Quilt by Patricia Polacco
3. Start discussing ideas students have and experiences with sewing
4. Invite students to bring in a family quilt or heirloom
5. Discuss the idea of history/story that a quilt can tell
Day 2:
1. Brainstorm Map
2. 4 Big Ideas: Process, Size & Shape, Materials, Who to Donate to
3. Start story: The Patchwork Quilt by Valerie Flournoy
4. Continue talking about students' ideas about the project
Day 3:
1. Determine size & shape of the entire quilt: 5' x 6' rectangle
2. Find the Perimeter and Area of the entire quilt
3. Determine shape of interior pieces: squares and rectangles (other shapes have been discovered to be too difficult to work with or won’t tessellate)
4. Considerations: time, ease, appearance
5. Calculate amount of time available to work on quilt (40 days x 30 mins = 1,200 mins / 60 = 20 hours total)
6. Finish story: The Patchwork Quilt by Valerie Flournoy
Day 4:
1. Determine shape of interior pieces: squares and rectangles (other shapes have been discovered to be too difficult to work with or won’t tessellate)
2. Video a discussion of the decision-making process for the interior shapes
3. Determine the size of the interior pieces: rectangles ½’ x 1’ and squares ½’ x ½’
4. Start creating a scale model/pattern for the quilt
Day 5
1. Finish scale model/pattern
2. Calculate how many interior pieces are needed for each shape: 24 rectangles & 72 squares
3. Find the Perimeter and Area of interior pieces
4. Find the scale of the pattern to the actual size of the quilt
Day 6
1. Analyze examples of quilts and recognize different traits including size, shapes, patterns, materials, etc.
2. Create list of materials needed (rotary cutters)
3. Figure out where and how to get the items that are needed
4. Identify symmetry in quilt and talk about how to make a symmetrical quilt: mirror image
Materials & Tools
a) Rotary cutter or scissors-Mrs. S & Becky(?)
b) Fabric-everyone
· not stretchy
· cotton
· lightweight
· button down shirts
· prints or solids
c) Sewing machine-Mrs. S.
d) Fabric markers-Josh (maybe)
e) Rulers & yard sticks-classroom
f) Needles-Mrs. S
g) Thread-Mrs. S
h) Patterns/templates-make in the classroom
i) Batting-Mrs S. buy
j) Yarn-Mrs S.
Day 7
1. Analyze different materials for qualities needed to make a quilt
2. Fraction concepts: Identify the fraction of the quilt that will be squares vs. rectangles (parts of a whole)
3. Fraction concepts: Simplifying and complicating fractions
Day 8:
1. Iron the fabric pieces that are chosen to be used for quilt pieces
2. Talk about how to store fabric
3. Make corrections to fraction practice packet
Day 9:
1. Iron the fabric pieces that are chosen to be used for quilt pieces
2. Determine which fabrics will be used for square pieces
3. Measure and begin cutting rectangular pieces (24) using rotary cutter
Days 10-12:
1. Determine which fabrics will be used for rectangular pieces
2. Cut rectangular (24) and square (72) pieces and ironing as needed
Day 13:
1. Iron all pieces
2. Begin pinning rectangular pieces together-teach responsible use of pins
3. Use geometry vocabulary when giving instructions or describing actions-review line, ray, line segment, parallel lines, perpendicular lines, quadrilateral, square, rectangle, parallelogram, rhombus, right angle, acute angle, obtuse angle, etc.
Day 14:
1. Iron all pieces
2. Begin pinning rectangular pieces together-teach responsible use of pins
3. Use geometry vocabulary when giving instructions or describing actions-review line, ray, line segment, parallel lines, perpendicular lines, quadrilateral, square, rectangle, parallelogram, rhombus, right angle, acute angle, obtuse angle, etc.
Day 15:
1. Finish pinning first batch of rectangular and square pieces together
Days 16-20:
1. Sew first batch of pinned pieces
2. Iron seams open
Days 21-25:
1. Continue sewing pieces together
2. Iron all seams open
Days 26-29:
1. Once the squares have been sewn together in 2 x 2s, lay them out to create plan for the pattern of the quilt making sure that the pieces are facing in the correct direction and that no two patterns are touching each other (diagonally is okay)
2. Sew together top rows, bottom rows, and left and right sides of square pieces
Day 30-32:
1. Lay out squares and rectangles
2. Pin together rectangular section and square sections and sew
3. Press seams open
4. This will finish the top layer of the blanket, preparing it to be layered with the batting and the backing
Day 33:
1. Create personalized squares to show who the quilt was created by (use white cotton fabric and fabric markers)
2. Sew onto corner squares using a zigzag stitch
Day 34:
1. Cut the batting and backing
Day 35:
1. Cut the binding
Day 36-37:
1. Sew the layers together
2. Quilt the center first by sewing diagonally through the squares
3. Sew the binding
Fall 2012:
1. Dedication ceremony
2. Display the Quilt for Hillel Community to enjoy
2. Donation to a children's hospital